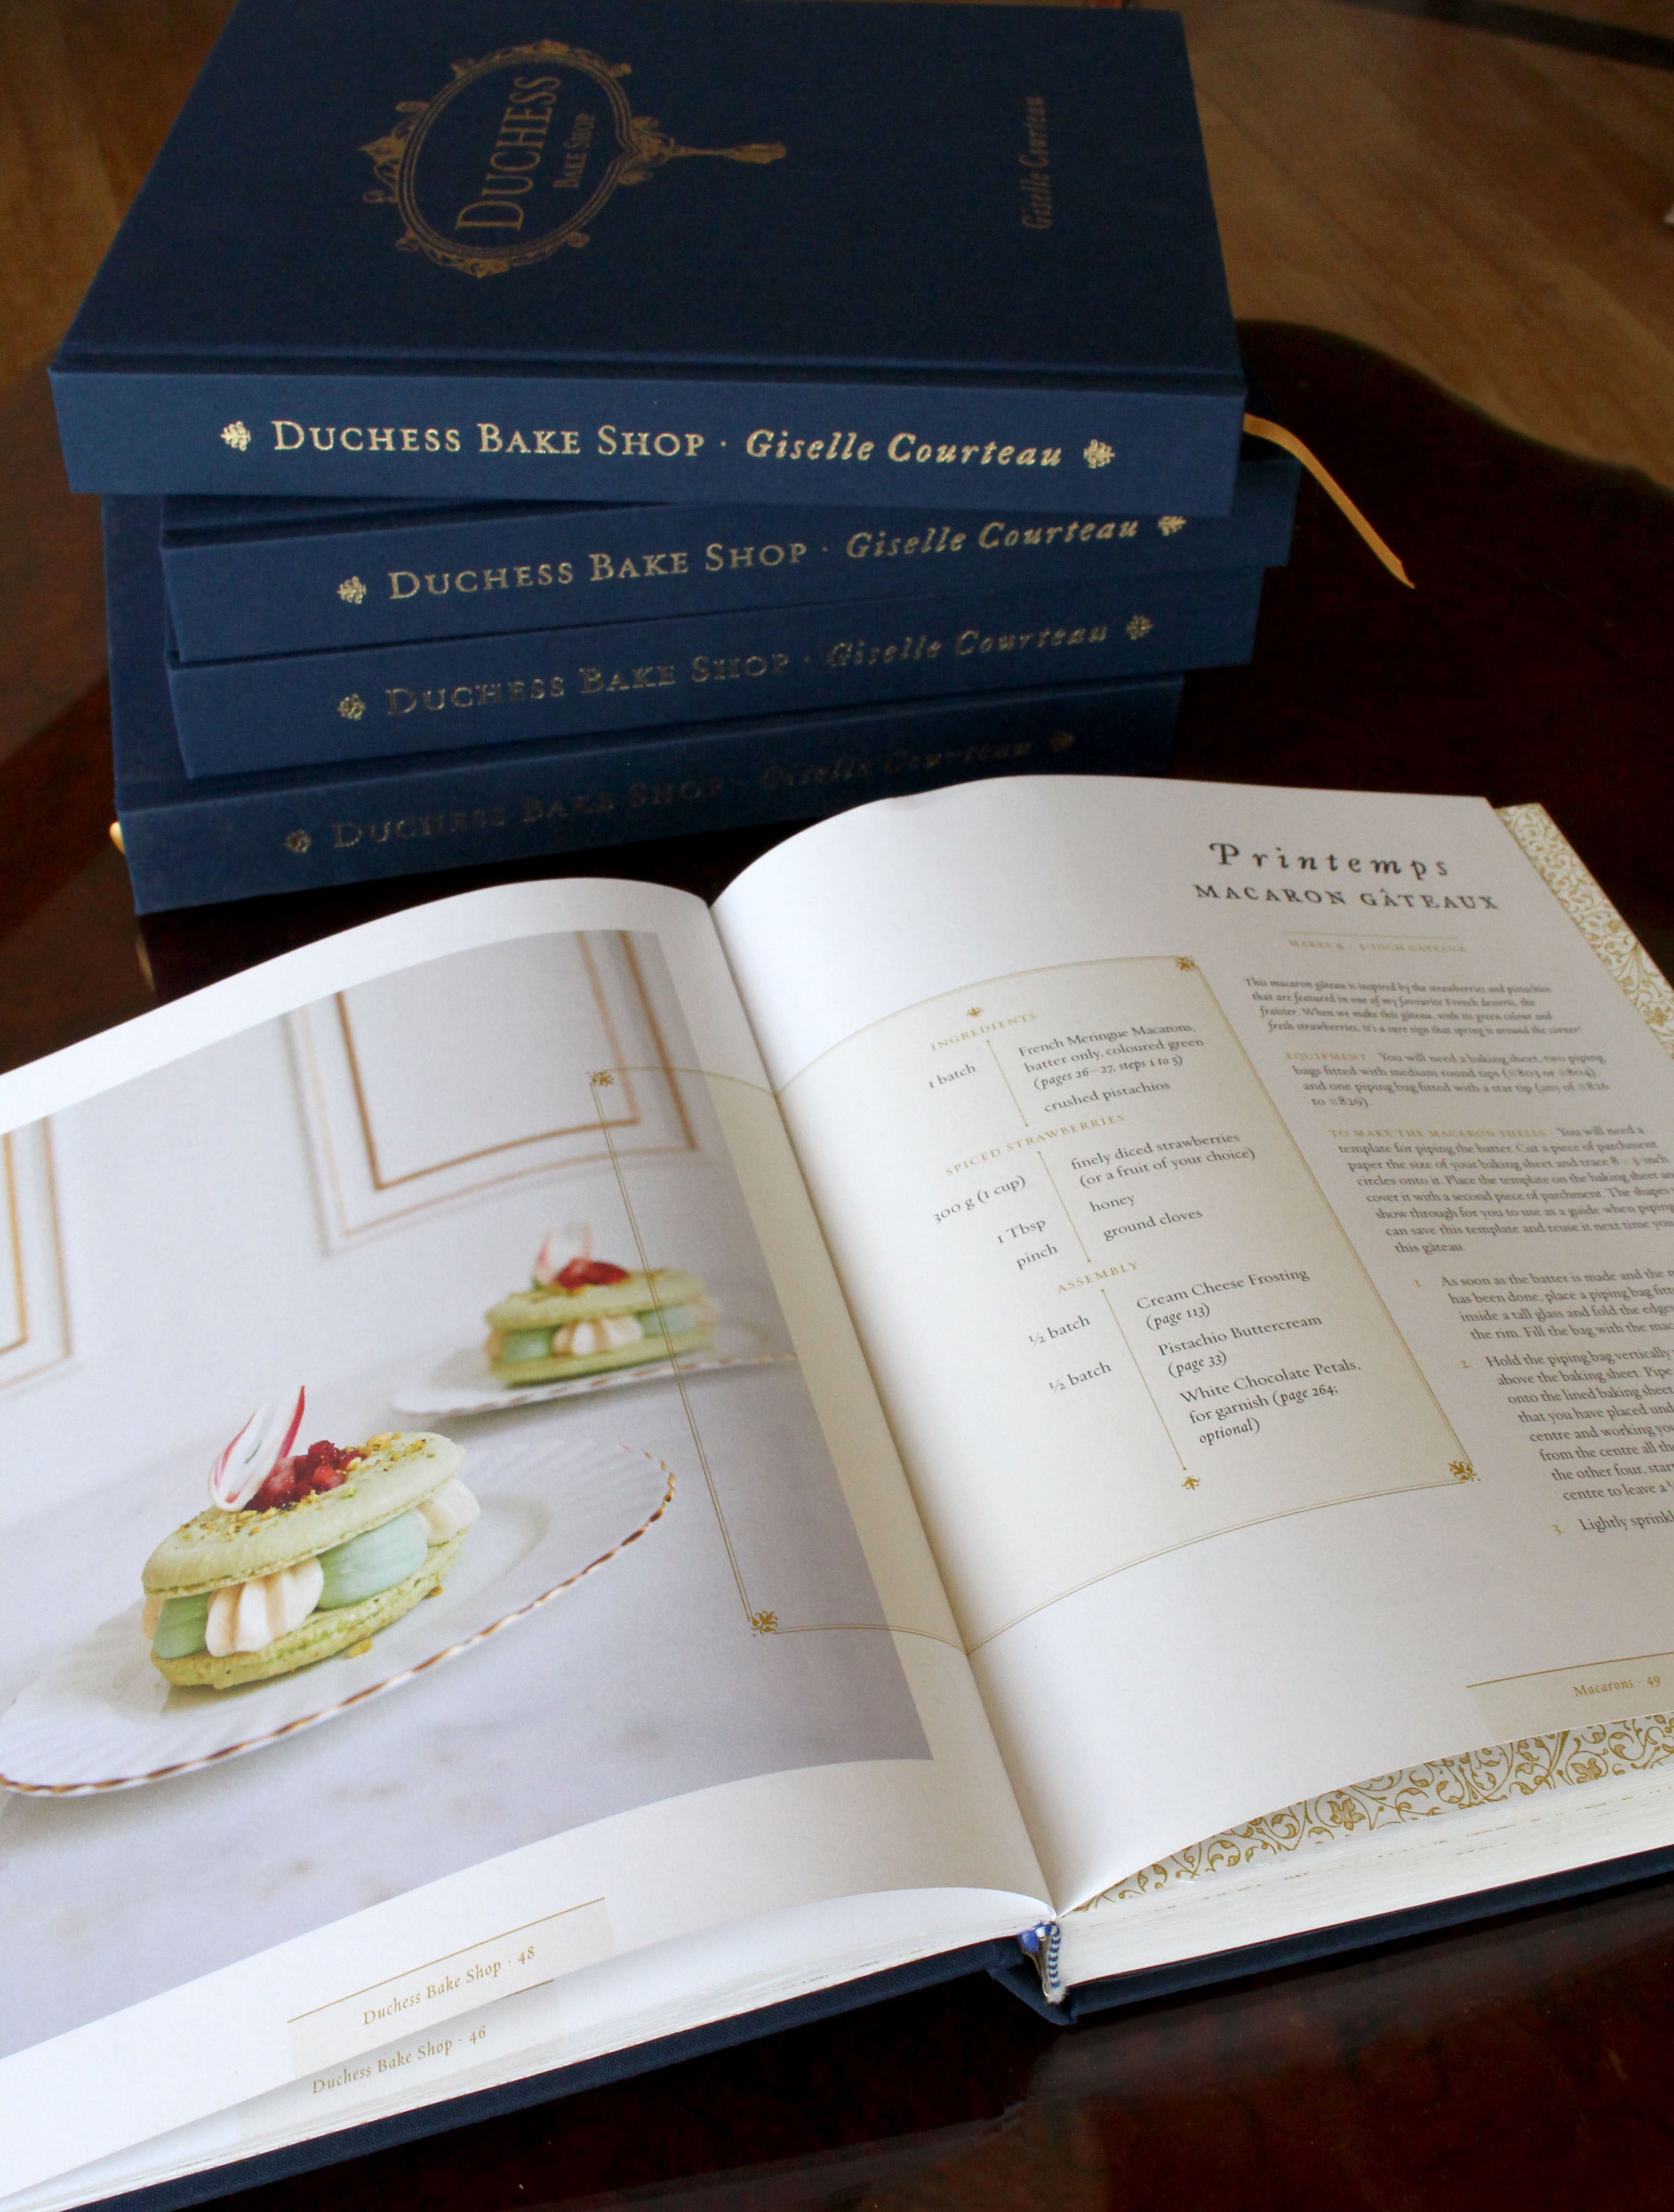
Fans of sweet treats take note – you can now make the delectable baked goods from Edmonton’s beloved bakery Duchess Bake Shop at home! The owners of Duchess Bake Shop have self-published a gorgeous collection of the bakery’s most popular recipes.

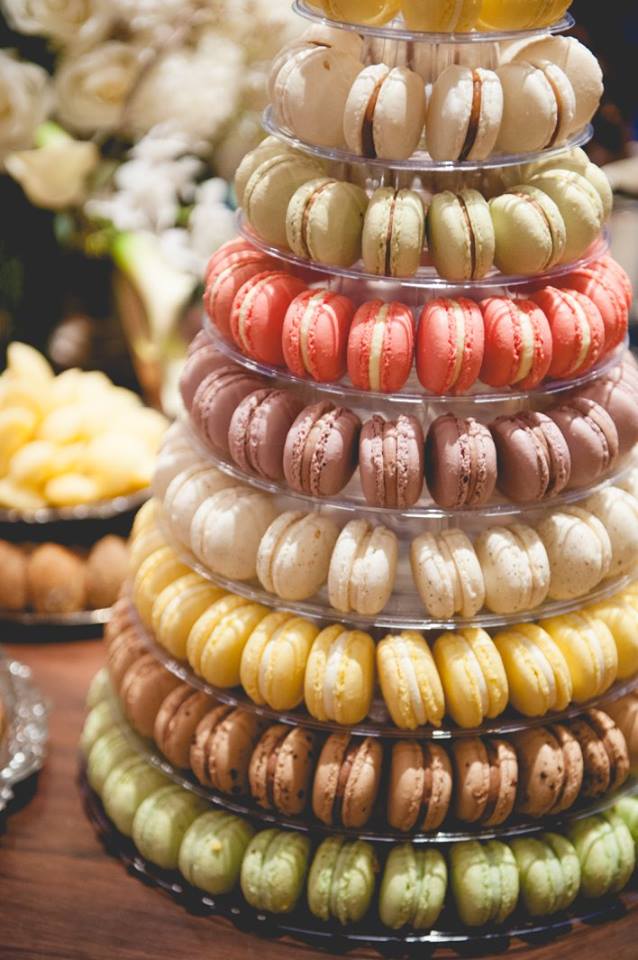
If you’re not aware of this home-grown Canadian success story, you soon will be! Buzzfeed even named them one of best bakeries in the world! It’s no wonder with the shop’s array of cookies, éclairs, tarts, macarons, madeleines, marshmallows and more! I had the pleasure of meeting the founder, Giselle Courteau a few weeks back. Alongside her partners Garner Beggs and Jacob Pelletier, Duchess Bake Shop has been quickly growing since opening in 2009.
As a self-taught cook myself, I relate to Giselle’s ambition and tenacity. She learned how to make the perfect macaron in a toaster oven in Tokyo! There’s no set path to pursuing your passion.
Desserts are my weakness. I love that Giselle promotes true homemade cooking – making everything from scratch using real ingredients.
If you can’t get yourself to Edmonton to sample Giselle’s confections in person, pick yourself up a copy of The Duchess Bakeshop Cookbook – don’t worry if you’re no pro in the kitchen, the book offers up plenty of tips & tricks to help you recreate these mouth-watering desserts.
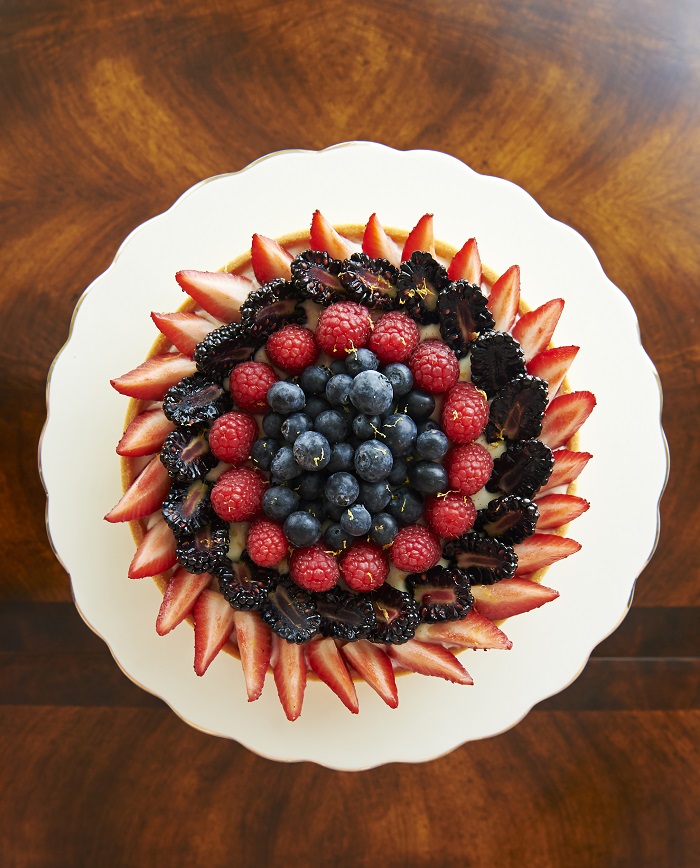
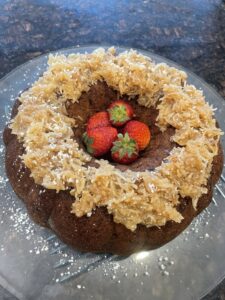
Check out the recipe for the Duchess Bake Shop‘s stunning Fruit Tart below!
Fruit Tart
Makes 1 × 8-inch tart
This recipe will make more pastry cream than you need. The leftovers are delicious on top of pancakes, served with fruit for dessert, or simply eaten with a spoon.
Ingredients
1 fully baked tart shell (instructions follow)
Pastry cream
242 g (1 cup) whole milk
1 vanilla bean, sliced open lengthwise
55 g (1/4 cup + 1 tsp) sugar
55 g (about 3 large) egg yolks
15 g (11/2 Tbsp) cornstarch
1/4 tsp salt
100 g (¹⁄³ cup + 2 Tbsp) unsalted butter, cubed
Assembly
fresh fruit of your choice (we prefer berries)
1 tsp apricot jam
1/4 cup water
fresh lemon zest, for garnish (optional)
Instructions
To make the pastry cream
- Heat the milk and vanilla bean in a saucepan until scalding.
- While the milk is heating, place the sugar and egg yolks in a bowl and whisk until the yolks have lightened in colour. This will take a few minutes of vigorous whisking. Whisk in the cornstarch and salt.
- Remove the vanilla bean from the heated milk and, using the back of a knife, scrape the seeds back into the milk.
- Slowly drizzle the hot milk into the yolk mixture while continuing to whisk. If you add the hot milk too quickly the eggs will curdle and your pastry cream will come out lumpy.
- Once all the milk has been added, transfer the mixture back to the saucepan and place over medium heat. Whisking constantly, bring the mixture to a boil, and continue cooking for 5 minutes more, whisking the entire time.
- Remove from heat. Immediately strain the pastry cream through a fine mesh strainer to remove any lumps. Add the butter and whisk until smooth; or, if you want your pastry cream even smoother, use an immersion blender.
- Cover the pastry cream and refrigerate for 2 to 3 hours, until set.
To assemble the tart
- Use a spatula to slightly break up the cold pastry cream. Fill the tart shell with pastry cream to just slightly below the rim, spreading it out smoothly with a knife or a small offset spatula.
- Arrange the fresh berries or other fruit in a pattern on top.
- In a microwave or over the stove, gently melt the apricot jam with the water—without letting it come to a boil—and brush it generously over the top of the fruit. Garnish with fresh lemon zest. If not serving immediately, refrigerate until ready to serve.
Storage · This fruit tart will keep in the refrigerator for up to three days.
Tart Shell
Makes dough for 2 × 8-inch tarts
This pâte sucrée recipe will make enough dough for two tarts. Unbaked pâte sucrée freezes very well and you can keep the extra dough in the freezer ready to go for your next tart.
Ingredients
245 g (1½cups) all-purpose flour
75 g (²⁄³ cup) icing sugar
35 g (¹⁄³ cup) almond flour (finely ground almonds)
1/4 tsp salt
145 g (²⁄³ cup) unsalted butter, cubed, at room temperature
1 large egg
1/4 tsp vanilla extract or paste
Equipment
You will need a stand mixer fitted with a paddle attachment, a baking sheet, and tart rings. We use 8-inch and 4-inch tart rings at Duchess. Unless otherwise noted, all of the recipes in this chapter have been tested with an 8-inch tart ring, but go ahead and use the smaller ones if you prefer. If using tart rings seems a bit tricky, you can stick with standard removable-bottom tart pans (they usually have a ruffled edge), though with these you may need to extend the baking time a bit.
To make the Pâte Sucrée
- Sift the flour, icing sugar, almond flour, and salt together into a stand mixer bowl.
- Fit the bowl on the stand mixer. Add the butter and mix on low speed until the mixture looks sandy.
- Add the egg and vanilla and continue to mix on low, stopping when the dough is barely mixed. Some of the dry ingredients may still be visible. Be sure not to overmix or the dough will become tough and hard to work with.
- Empty the dough out onto the counter and press it down by hand to work in the last of the dry ingredients.
- Shape the dough into two balls. Wrap each ball well in plastic wrap and let rest in the refrigerator for 2 to 3 hours before rolling out. The dough will keep in the refrigerator for up to four days and in the freezer for up to two months.
To roll out the Pâte Sucrée
- Remove the pâte sucrée from the refrigerator and lightly flour a work surface and both sides of the dough.
- Roll out the dough to about ½cm thick, checking it often to ensure it’s not sticking to your work surface. It helps to give the dough a 90-degree turn after each roll, flip it over frequently, and flour as needed. As the dough gets thinner it becomes more delicate and difficult to flip over; just keep gently rotating it and lightly flouring it as you roll.
- Place the tart ring on the rolled-out dough and cut a circle 1½inches past the edge of the ring. Gently move the circle of dough onto a large piece of parchment paper and transfer it to the refrigerator for about 15 minutes.
- While the dough is chilling, prepare your tart ring. Grease the inside of the ring with a small amount of butter, making sure no bits of butter remain visible on the ring.
To ‘enfoncer’ the dough
- Line a baking sheet with parchment paper and place the tart ring on it. Remove the dough circle from the fridge. Pick it up gently and centre it on the ring.
- Work the dough into the ring using your fingers to lift the edge of the dough and your thumbs to gently press it down into the mould. Work around all the edges until the dough is loosely positioned in the mould. You may need to go around the ring in this way a few times.
- Using your thumbs and taking your time, work the dough gently into the bottom edge of the ring, pressing it flat against the sides. Try your best to form a 90-degree angle along the bottom edge of the ring and make sure the dough is distributed evenly doesn’t get to thin. If it’s not well ‘enfoncée,’ you can end up with quite a shallow shell after it’s baked, or holes, making it difficult to fill properly.
- Run a sharp knife along the top rim of the ring to trim off the excess dough.
- Using a fork, lightly poke holes in the bottom of the shell so that no air bubbles form while baking .
- Refrigerate the shell for at least 15 minutes before baking.
To bake the Tart shells
Preheat your oven to 375°F (190°C).
––Tarts that will not be baked again once filled (such as fruit or lemon cream) will require a fully baked tart shell (Photo N). For an 8-inch tart, bake the shell for 18 minutes, or until the edges and base are a light golden brown. If using 4-inch tart rings, bake for 14 minutes.
––If you are making a tart that will be baked again after filling, your shell will need to be parbaked (partially baked) rather than fully baked. In this case, reduce the baking time to 12 minutes for an 8-inch shell or to 8 minutes for 4-inch shells.
Brushing the tart shells
At Duchess we brush all of our fully baked tart shells with melted white chocolate to make the tarts more stable when filled. If you plan on making and serving a tart on the same day, this step isn’t necessary, but if you’d like to serve the tart the next day or plan on having leftovers, coating the shell will prevent it from softening too much in the interim. Parbaked shells do not require this step, as they will be going back in the oven.
To brush your shell with white chocolate, make sure the shell is fully cooled. Slowly melt ¼cup white chocolate in a microwave on half power or over a double boiler. Gently brush the white chocolate all over the inside of the shell, ensuring that you reach from the very bottom edge right up to the top edge. Allow it to harden before filling your tart.